How to Draw Freehand Circles In 4 Easy Steps
If you're an artist, chances are you've had to draw a circle at some point. Getting this right can be tricky. But there's no need to worry - we've got you covered. This blog post will show you the best way to draw circles in four easy steps. So grab your pencil and paper, and let's get started!
What is a circle drawing exercise good for?
Drawing circles is a simple movement that can be repeated over and over again, making it ideal for improving muscle memory. The act of drawing also requires coordination between the hand and the eye, so regularly doing circle drawing exercises can help to improve coordination. Additionally, circle drawing can serve as a warm-up exercise for more complex drawings. By starting with something simple, you can gradually increase the difficulty level and avoid getting overwhelmed.
Why should we learn to draw freehand circles when there are excellent mechanical tools for that?
Freehand circles are an essential skill for any artist or designer. Although mechanical tools, such as a compass, can easily create circles of uniform size, learning to draw them by hand gives you a level of control and flexibility that isn't possible with a tool. Freehand circles can be resized and adjusted on the fly, making them perfect for quick sketches and layout work. They also have a warmth that reminds the viewer that a person created the work of art.
In addition, being able to draw freehand circles confidently is a sure sign of mastery over the basic principles of drawing. It will give you a solid foundation to build more complex skills. So next time you're reaching for a compass, take a few minutes to practice your freehand circle drawing instead - you'll be glad you did!
Step-by-Step Instructions For Drawing Circles
1) Hold your pencil
When drawing or sketching, it is essential to hold your pencil correctly to produce the best results. Many people make the mistake of holding the pencil too tightly, resulting in lines that are difficult to control. Others hold the pencil too loosely, which can cause the pencil to slip and produce uneven lines. The best way to grip a pencil is with a firm grip that allows you to be in control. We will use an overhand grip instead of the traditional tripod grip used for writing. This will enable you to maintain control over the pressure while still being able to control the movement of the pencil. Remember that our motion for this exercise will come from our shoulders, not our wrists.
2) Imaginary circles
Steps 2 through 3 should be completed in one fluid motion with no pauses in between.
When drawing a circle, it can be helpful to create an imaginary circle first. By doing this, you will get a sense of the motion your arm will make. You will also be able to visualize your final result.
Extend your arm over the paper, but do not make contact yet. While hovering, move your arm in a circular motion to feel the movement. Try to visualize the circle that you are about to sketch. Ensure that the motion originates from the shoulder and elbow. Your wrist should feel firm with almost no movement.
3) Put down your mark
Slowly begin to lower your pencil to make contact with the paper. Remember to keep your hand moving at a consistent speed.
4) Make two to three passes (optional)
Continue the same movement and trace over your first attempt one or two more times. This will help us build up our accuracy over time. Repeat steps 1-4 until you have filled a page with circles.
Key Considerations For Successfully Getting The Most Out Of Your Circle Drawing Practice
Do not stop mid-motion.
Do not use short strokes to sketch your circles.
Do not try to draw a near-perfect circle! Our goal is to get close enough
Do not erase!
If you make a mistake, analyze it and ask yourself, "How can I make it better?"
Be proud of your circles and have fun!

Taking it to the Next Level: How to Improve Your Circle Drawings Over Time
It is important to be consistent when trying to establish new sketching habits. This means that you should practice drawing circles every day. If you miss a day, don't give up! Just start the next day again. The more consistent you are, the more likely this new behavior will become a lasting part of your artist routine.
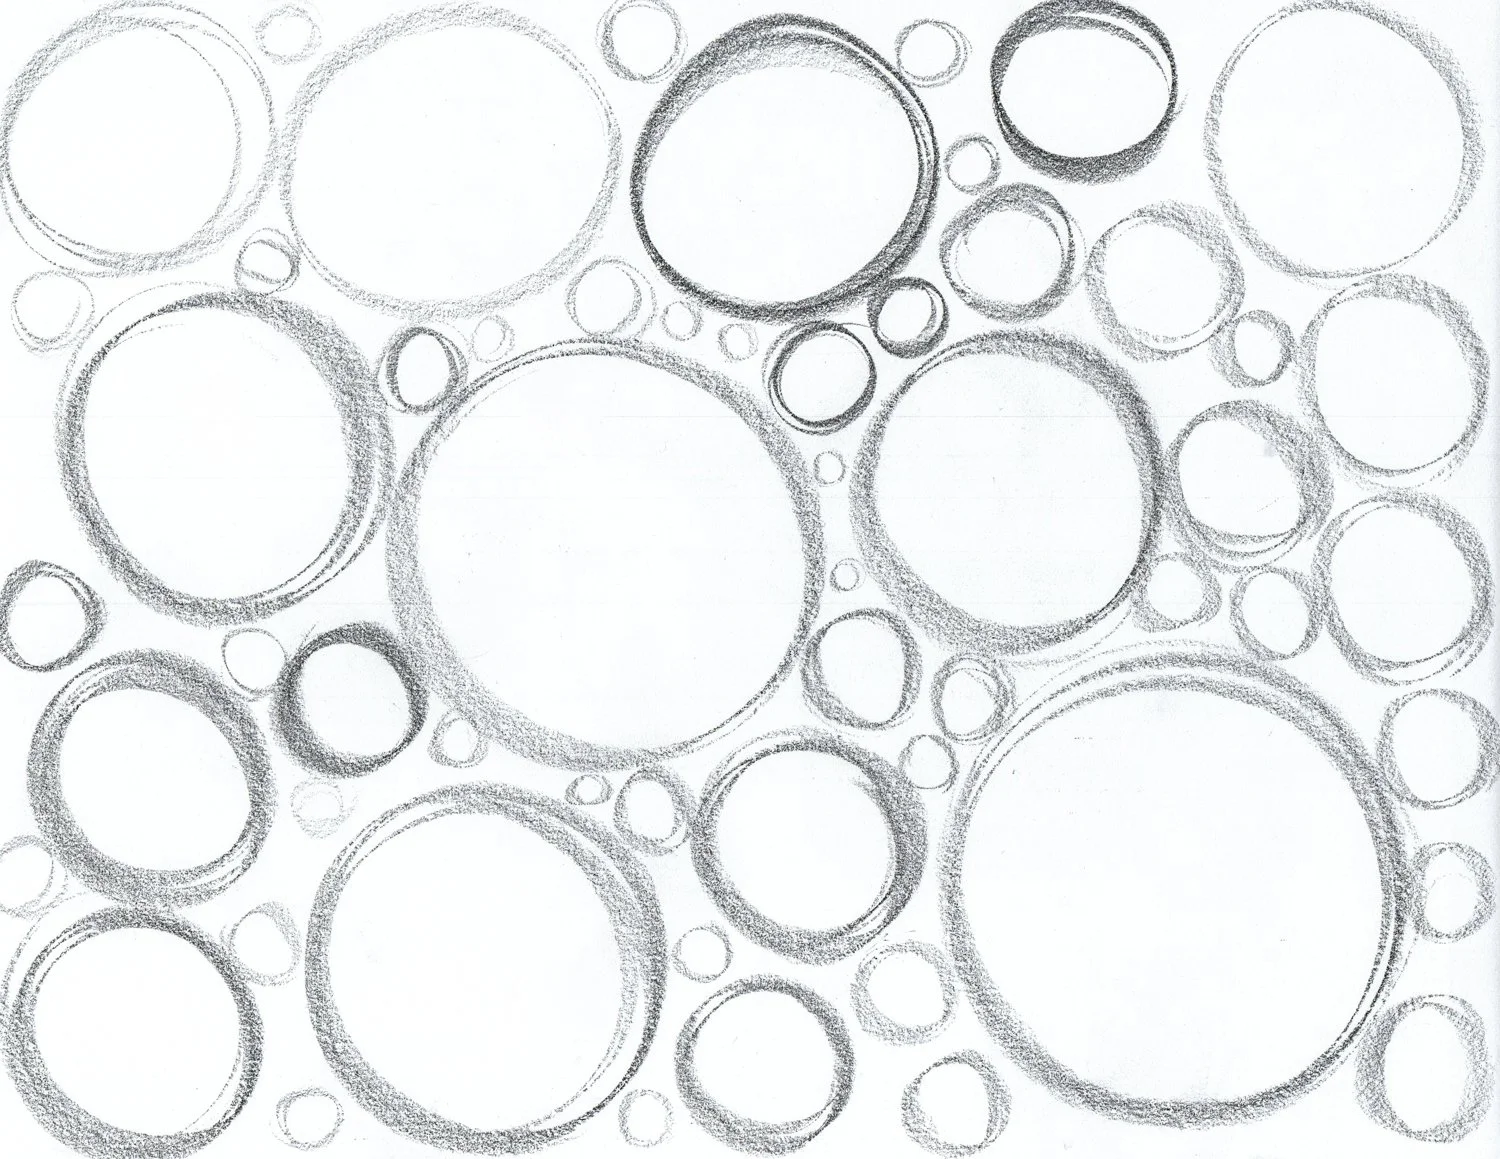
Variations Of The Circle Exercise
Try drawing different shapes. Draw ovals or egg shapes instead of circles.
Add some variation to the value of each circle. Draw some dark ones and some light ones.
Vary the radius of each circle. Draw some large circles and some small ones.
You can always practice your observational skills if you don't have a pencil and paper. There are round objects everywhere; sometimes, they are combined with other shapes. Just look at basic shapes around you and ask yourself, "What objects are constructed using circles and spheres?"
My Experience With Drawing Circles
Have you ever looked at a drawing and thought, "I could never do that"? Well, the truth is, anyone can learn to draw. It may not come naturally to everyone, but with a bit of practice, anyone can develop their drawing skills. The key is to be consistent. Just like going to the gym, you won't see noticeable results after just one attempt. However, if you persist, you will eventually start to see improvements. So don't get discouraged if your first few drawings aren't quite what you wanted them to be. Keep practicing, and you will get better. Maybe one day you'll teach someone else how to draw!